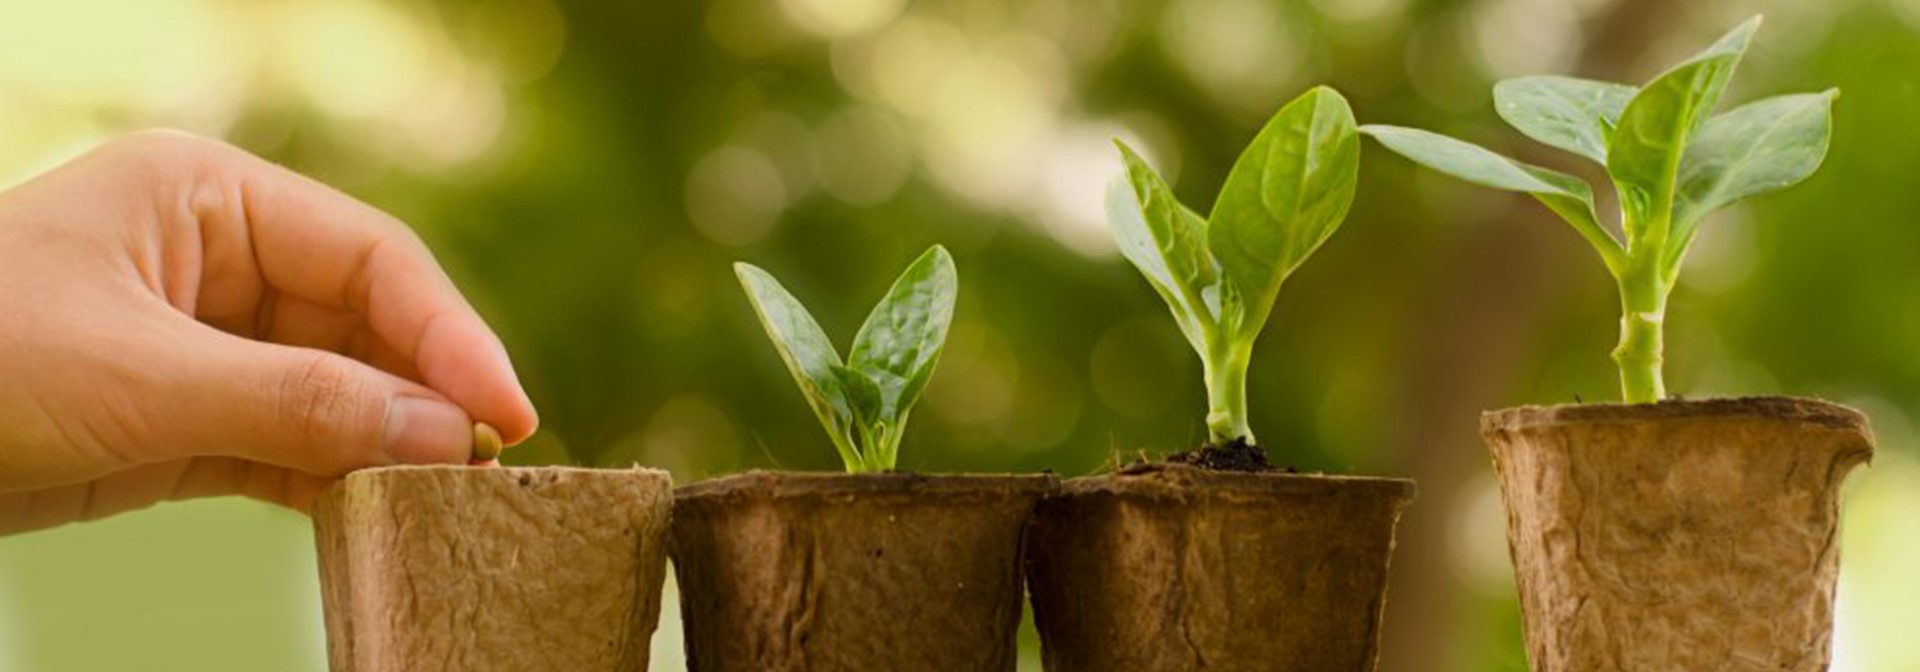
Germinating seeds and growing saplings isn’t rocket science. Yet, it’s easy to get it wrong. Here’s a guide for what to sow, when to sow and where to sow—to get you started.
Sowing is one of the most basic and important skills required for gardening. And it is this first step that decides how your garden will eventually look and what needs it will fulfil. Selecting all your veggies, herbs and flowers before you design your garden will also help ensure that you have the correct amount of room and the best growing conditions. Do pay attention on the placement and distancing of seeds as it is crucial for the success of your garden. Plus, creating your own saplings allows you to save money, grow rare and unusual plants and reap the benefits of gardening, all the way from seed to harvest. The best part: Mastering all of this is rather easy.
Sowing the seeds
Let’s begin with direct seeding. We directly seed plants for which we don’t create saplings. For example, in the summer, you should directly sow okra, spinach, amaranth, pumpkin, gourd,cucumber, legumes and zucchini; not brinjal, tomato or chillies. Here are some basic tips for planting directly in the ground:
Prepare the beds
Get your beds ready by adding compost and loosening the soil with a khurpi. Ensure that the top layer of soil isn’t clumpy. It should consist of fine granules to provide maximum surface area for newly sprouted seeds to absorb all the nutrients.
Water appropriately
Make sure that you water lightly with a watering can or a spray can to ensure that the soil does not get washed off. You must also remember to water more frequently,albeit in less quantity, during the seeding stage.
Keep distance
Sow all the seeds at the same level on the soil surface and cover with a mixture of soil and compost that is about 2 to 3 times the thickness of the seeds. This top layer will ensure that birds and squirrels do not reach the seeds at all.
Label correctly
Make sure you label each planted bed, lest you forget what was planted and where. I usually use ice cream sticks for this purpose. The front of the stick carries the name and variety of the seeds and the back shows the date of planting. Also, make a mental note of the pattern of seed planting per square foot so that you can easily differentiate sprouted seeds from sprouted weeds.
Maintaining planter gardens
Most kitchen gardeners in urban India practice gardening in pots and planters, not in the ground. But growing in containers has its own challenges and advantages. Although containers inherently lack space and the abundant nutrients usually present in the ground, they do provide a more controlled environment to grow seeds and saplings. In fact, it is advisable to grow your saplings in containers for more precise control over the germination medium and watering. Plus, it’s easier to transport and transplant saplings that are already in trays or small pots. Here are some of the salient points you should definitely consider for making saplings in containers:
Pay attention to the choice of container
Your container should have a depth of at least 2 to 3 inches. It should have proper drainage or else you’ll need to punch holes at the bottom. Your best option is to use biodegradable containers like gobar pots, which can be directly planted into the ground. Even recycled containers like milk cartons and paper cups can be used to make saplings.
Maintain humidity
Cover the container with a plastic wrap or glass to maintain humidity and place it where it gets the right temperature. Most seeds germinate at about 25 Degree Celsius.
Ensure ample sunlight
Seedlings need 12 to 16 hours of light. Once sprouted, they need to be moved to a sunny spot, otherwise they will remain weak and become lanky.
Use seedling potting mix
Buy or make your own seed-starting mix, using equal parts of vermiculite, cocopeat and compost. Add 1/2 teaspoon of gypsum to 1 kilogram of mix to neutralise the alkalinity of cocopeat.
Provide nutrients
Fertilise with seaweed fertiliser every week as soon as the first true leaves arrive. Use a sprayer to spray on the foliage.
Plant perfectly
Moisten the mix, place the seeds on the surface evenly, and cover the seeds with the mix, about 2 to 3 times the thickness of the seeds. Know that some seeds, like petunias and alyssum, need light to germinate; so don’t cover them. Lightly sprinkle with neemkhali, a natural pest- and disease- controlling agent, on the top.
Use larger pots
Shift your seedlings to larger pots if they become too big or crowded. Use a narrow fork or flat stick, and handle by the leaves and roots to avoid damaging the fragile stems. Tuck the seedlings gently into the new pots, and water them to settle the roots.
Label the pots
Like I mentioned earlier, make sure that you label your plants. Labelling planters is easier!
Pet them
Lightly running your hands over your seedlings once or twice a day helps them to grow stocky and strong.
Spray on
The best way to water small containers is by using a spray can. Ensure your seedlings are always moist, not damp or soggy. Small containers dry out quickly, so check them often.
Acclimatise
About a week before transplanting, shift your plants to a partially-shaded and protected spot outside, so that they get acclimatised to the conditions outdoors. Gradually increase their exposure to sun and wind. Transplant after they have been out for a week.
Bonus tip
Use the bottom-watering technique to get optimum results. Place your sapling trays or individual clay seedling pots in a closed trough or furrow and fill them with a layer of water—about 1-inch high. The soil will remain moist due to osmosis and sprouted roots will absorb water using capillary action. This is an effective way to provide water to delicate saplings without disturbing them.
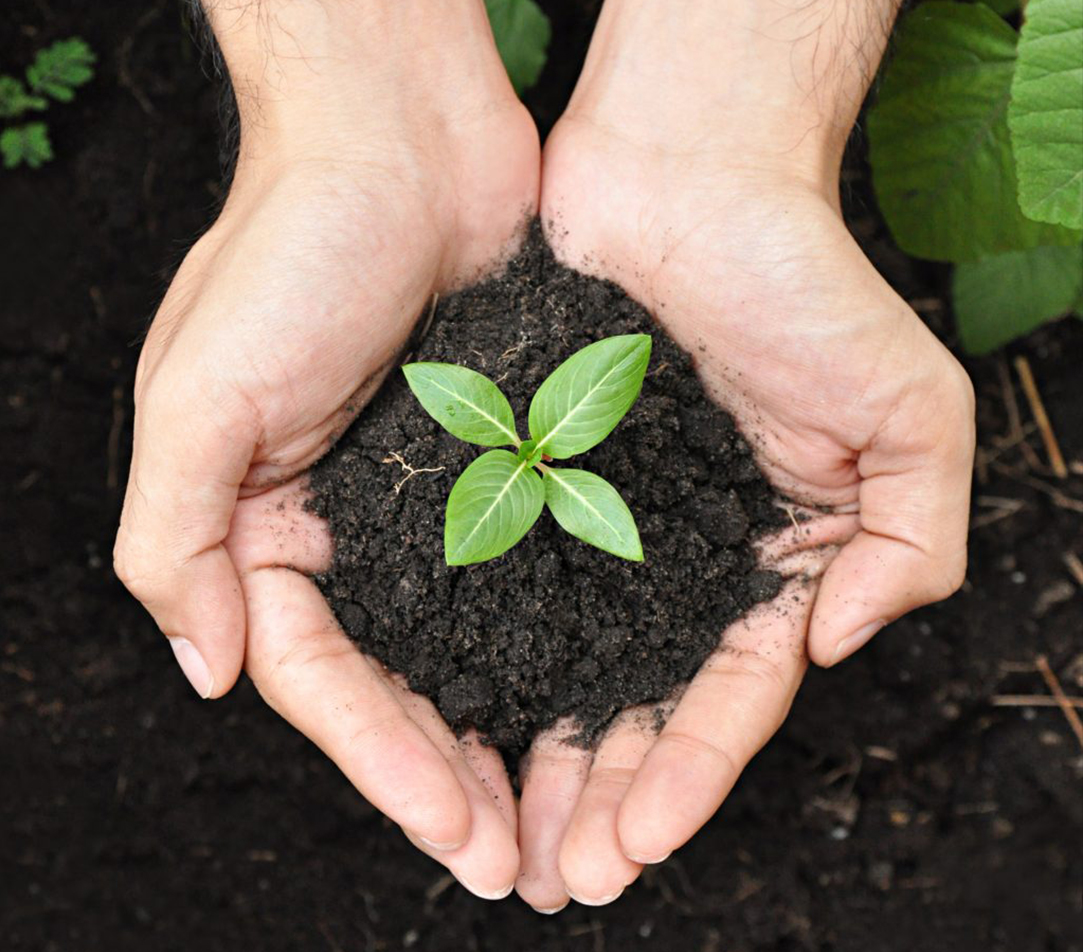
NURTURING SAPLINGS
There are many benefits to creating your own saplings. Here are some of them:
Saving money
Buying saplings from nurseries, especially those of exotic herbs and flowers, can set you back by quite a bit and you can never be sure of the quality. When you grow your own saplings, using the above practises, you know that you won’t have a plant that fails quickly.
Getting a headstart
By growing your own saplings, you will always be a step ahead of the growing season.
Experiencing the joy of growing
Creating your own sapling nursery is a fun and joyful experience.
Growing pure and exotic varieties
You can grow local, unusual, non- hybrid, heirloom varieties instead of being dependent on the market, which usually uses hybrids.
Enjoying chemical-free produce
You can ensure that no chemicals are used in growing your saplings. Usually, nurseries use chemical fertilisers to create strong saplings.
Growing plants from the scratch is an addictive process. Just know that you need to start making saplings about a month and a half before sowing time. For this winter, for example, start making your broccoli and cabbage saplings NOW, so you’re ready for planting by October. Good luck!
Home calculations made easy to help you plan your home
Related Posts


MISSED CALL
Give us a MISSED CALL for New Home Loan
- 09289200017